.png?fit=max&auto=format&n=z7mn2_Xnb9V482Ot&q=85&s=a7da8ae8f848315623c283d39843d7f2)
.png?fit=max&auto=format&n=z7mn2_Xnb9V482Ot&q=85&s=b93021eebe7a4c4147a406759ca21037)
1
Sign up and start your free trial
Go to reyapp.io and create your account. Every new account starts with a 14-day free trial that gives you full access to every feature, no credit card required.Once you’re logged in, you’ll land on your Rey dashboard, where all your apps live.
2
Create a new app
From the dashboard, click New App. You’ll see two options:
- Choose a template: start from a pre-built app layout (audio content app, AI chat, tracking app, and more) to move faster.
- Start blank: open an empty canvas and build everything from scratch.
3
Design your first screen
The canvas is your visual editing surface. You’ve got two ways to build: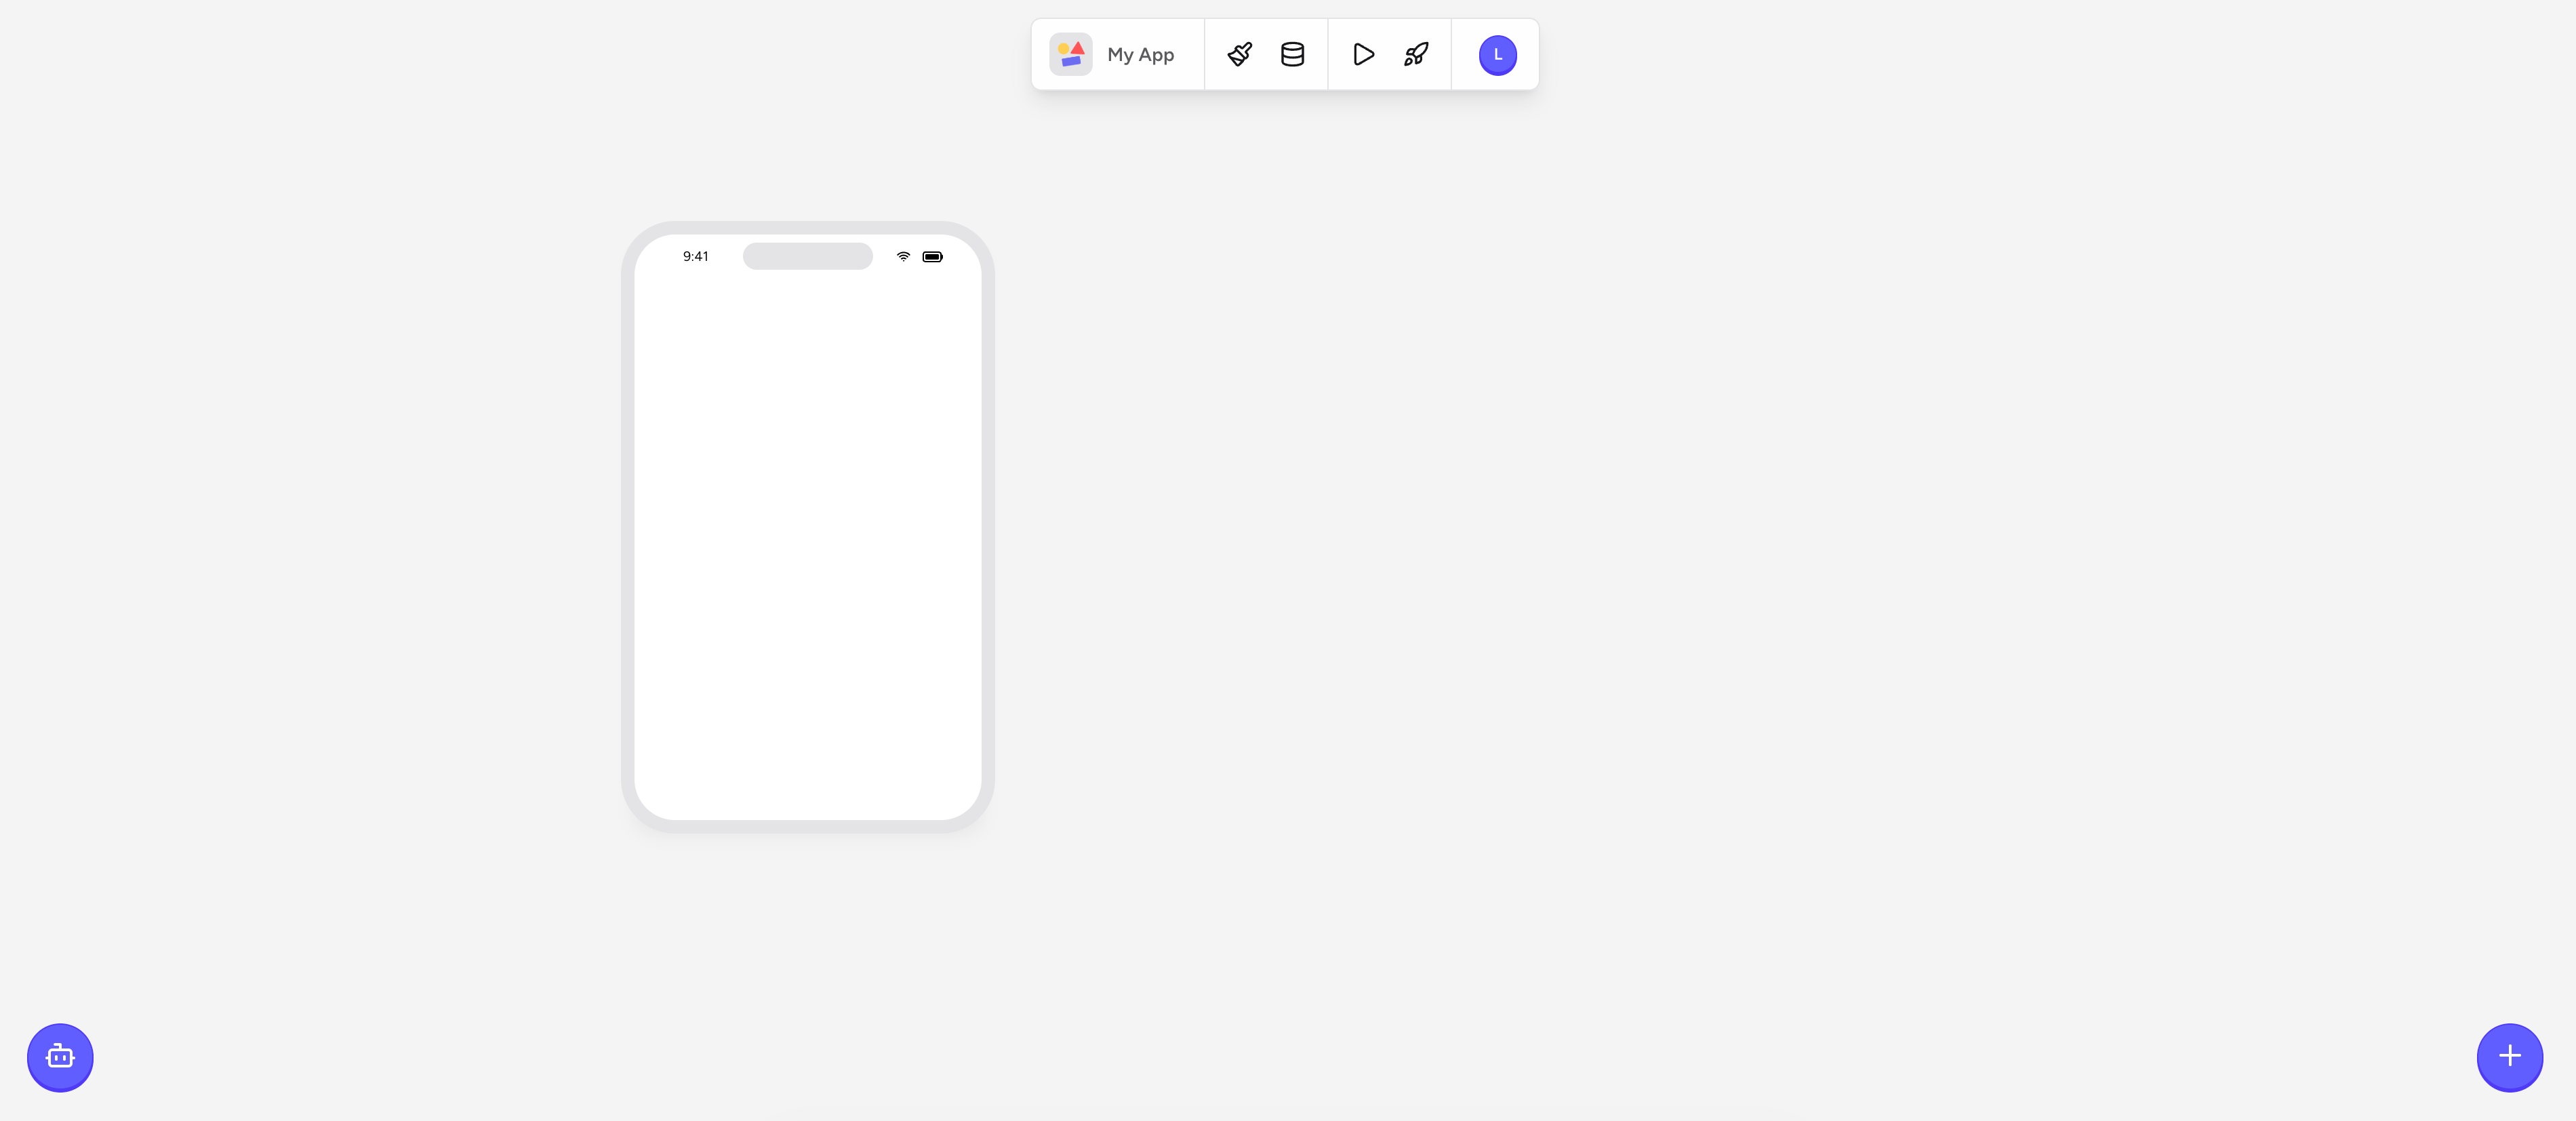
- Add components directly — tap the + button in the bottom-right of the canvas to open the component palette. Pick a category — Screen, Layout, Text, Button, Image, or More — and choose an element to drop it onto your screen.
- Talk to Rey AI — tap the bot icon in the bottom-left of the canvas to open the chat window and describe what you want. Rey generates or edits screens for you based on your prompt.
- Settings — component-specific options like the destination of a link
- Data — connect a component like a List to a data table, and bind elements inside it to data fields
- Layout — size, padding, margins, and alignment
- Logic — triggers, actions, and rules (see Logic)
- Styles — colors, fonts, borders, and other visual properties
4
Add data to your app
Most apps need to store and display information. Open the Data panel by clicking the database icon in the top toolbar, then click New Table. Add fields (Text, Rich text, Date, True/false, Multiple choice, Number, Image, Audio, Relation), then add entries directly in the table editor. Your app can read from and write to this table using actions. See Tables for full details.
5
Add logic to your components
Logic makes your app respond to what users do. To add it, select a component on the canvas (such as a button), open the Logic panel, and choose a When tapped action.Common actions include:
- Go to screen — navigate to another screen
- Play audio — play a sound or audio track
- Show paywall — prompt the user to subscribe or purchase
- Show flash message — display a short confirmation or alert
- Open link — launch an external URL
- Set user variable — store a value tied to the current user
- Show review prompt — ask the user to rate your app
- Show notifications prompt — request push notification permission
6
Preview your app on your phone
Rey offers both an in-browser web preview and a real-device preview. To preview on your phone:
- Download the Rey app from the App Store or Google Play.
- Sign in to the Rey app with the same account you use in the editor.
- Tap your project in the list to open it on your device.
7
Publish your app
When your app is ready to go live, click the rocket icon in the top toolbar and choose your target:
- App Store (iOS) — Rey packages your app and guides you through the App Store Connect submission flow.
- Google Play (Android) — Rey builds the APK/AAB and walks you through the Google Play Console submission steps.
- Web — Rey deploys your app to a hosted URL instantly, with an option to connect a custom domain.
What’s next?
Now that your first app is live, explore the rest of the docs to go deeper:- Core Concepts — understand the mental model behind every Rey project
- Building Your App — advanced canvas techniques, component customization, and layout tips
- Rey AI — get more out of the agent with detailed prompting strategies
- Data — learn relationships, filtering, sorting, and real-time data binding