.png?fit=max&auto=format&n=z7mn2_Xnb9V482Ot&q=85&s=a7da8ae8f848315623c283d39843d7f2)
.png?fit=max&auto=format&n=z7mn2_Xnb9V482Ot&q=85&s=b93021eebe7a4c4147a406759ca21037)
Open the Data panel
Click the database icon in the top toolbar to open the Data panel. From here you can see every table in your app, add new ones, and edit entries.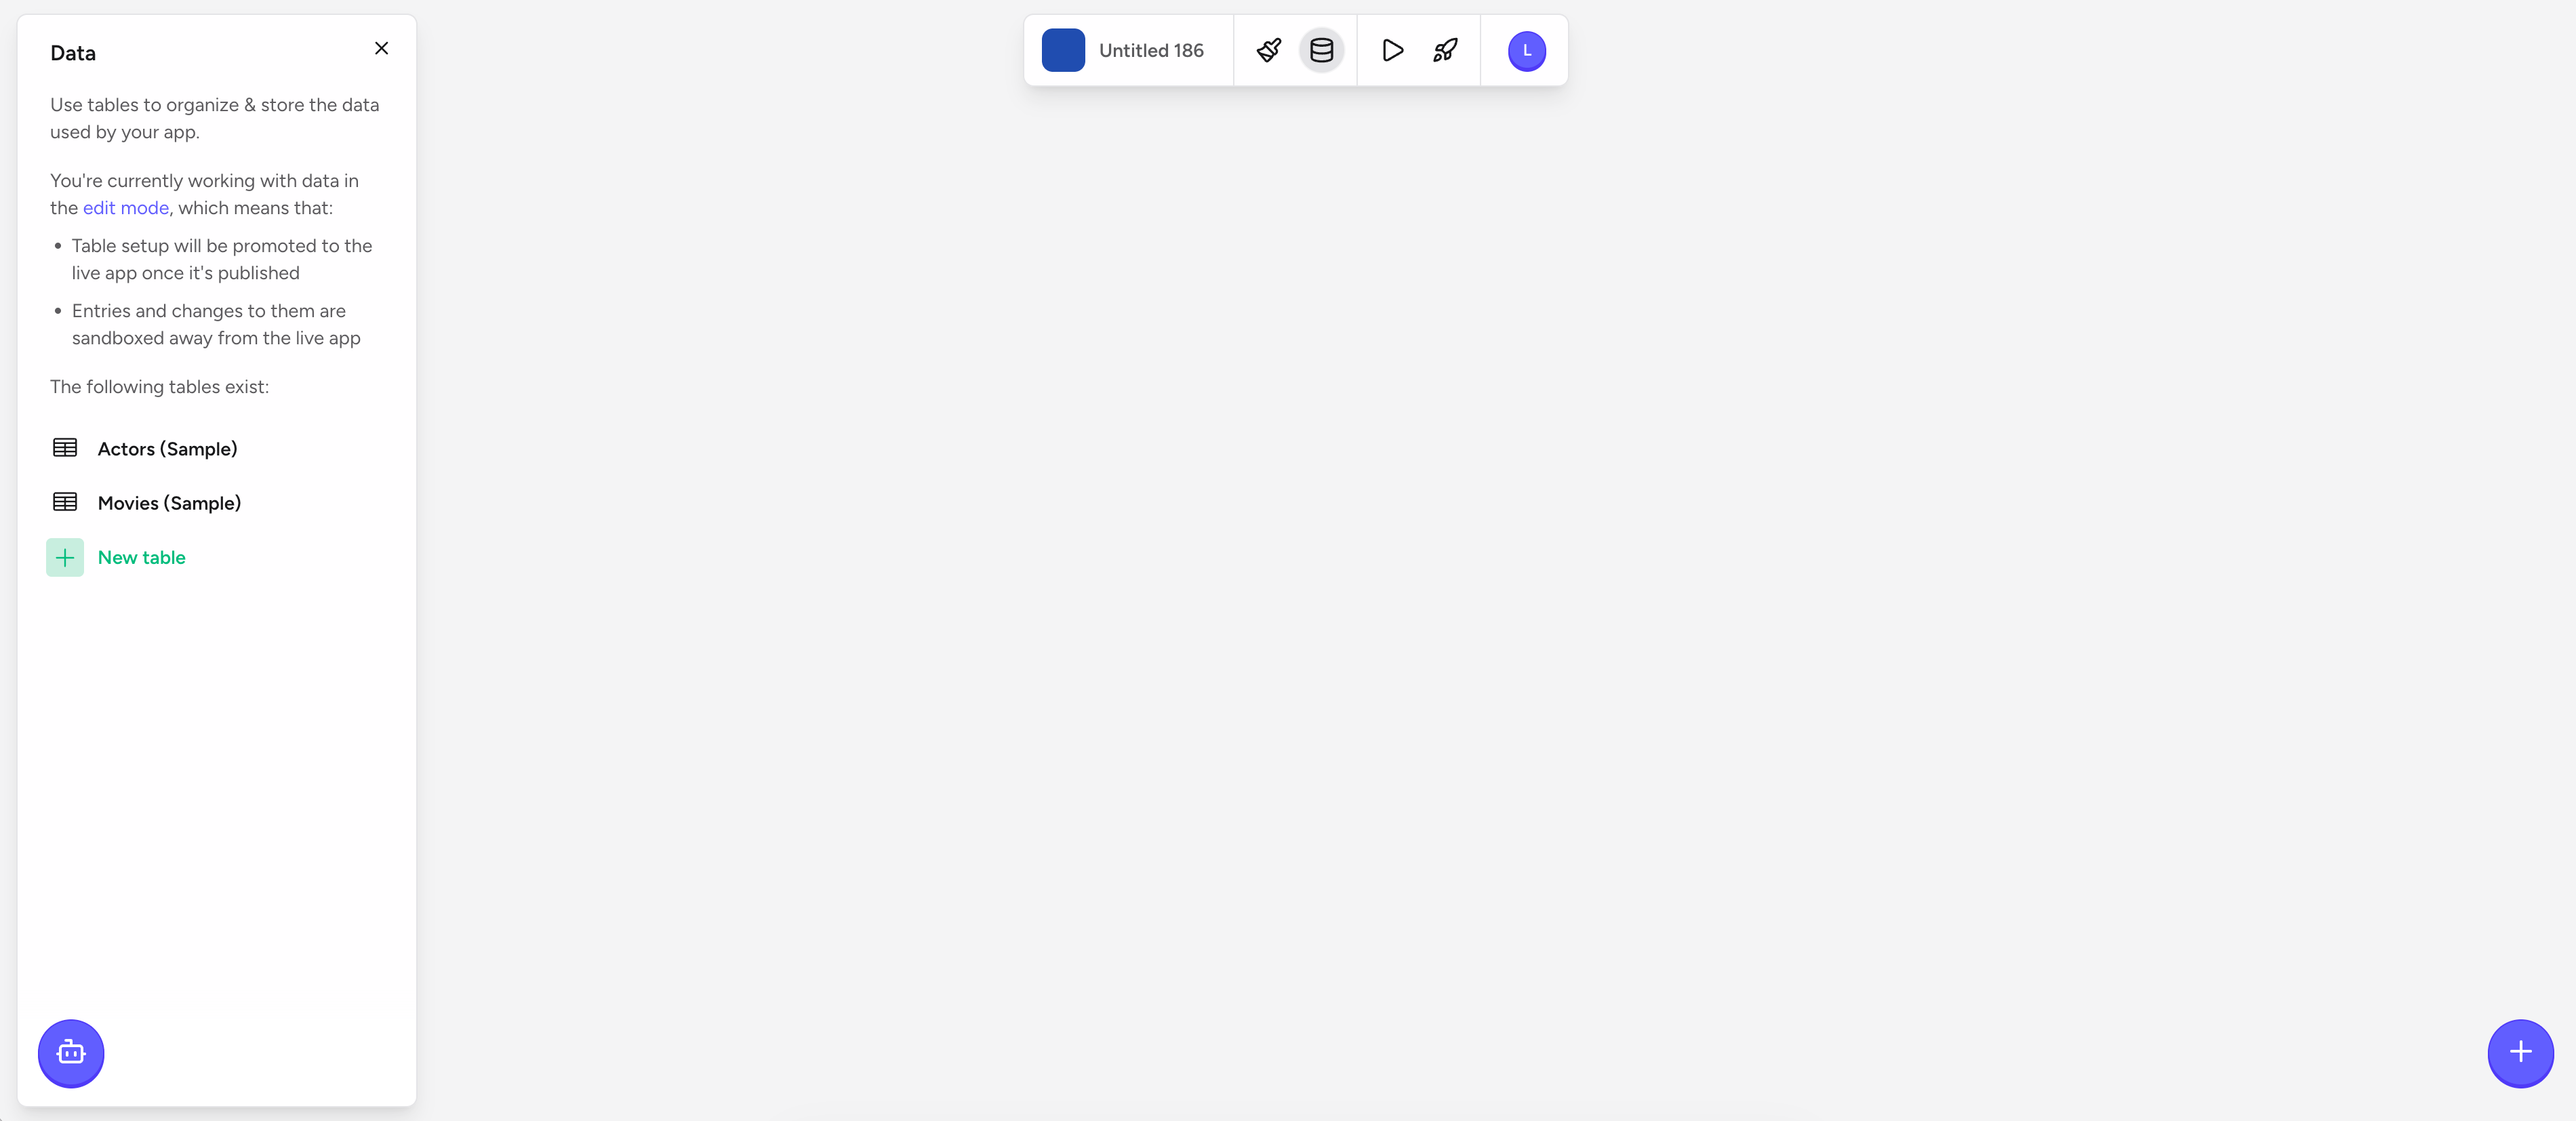
Edit mode vs. live app
You work with data inside edit mode, which is sandboxed from your published app:- Table setup (new tables, fields, permissions) is promoted to the live app the next time you publish.
- Entries and changes you make in edit mode are sandboxed — they do not affect the data in your live app.
Tables, entries, and fields
Data in Rey is organized into tables. Each table has:- Entries — individual records (rows).
- Fields — the typed columns that describe each entry.
- Permissions — who can read and write entries at runtime.
Add entries manually
You can populate your table directly in the Data panel without writing any code.1
Select your table
In the Data panel, click the table you want to edit. The table grid opens on the right.
2
Add an entry
Click + New entry. A new empty row appears.
3
Fill in field values
Click any cell and type a value. Press Tab to move to the next field, or Enter to move down to the next entry.
4
Save your changes
Rey saves entries automatically as you type.
Bind a table to a List component
Once your table has data, you can display its entries on the canvas by binding the table to a List component.1
Add a List component
Click the + button in the bottom-right of the canvas, open the Layout category, and choose List.
2
Connect the List to a data table
Click the List to select it, open the property toolbar above it, and choose Data. Select your table — Rey immediately populates the list with one item per entry.
3
Select an element inside the List
Tap any element inside the List — for example, a Text label in the item template — and open its property toolbar.
4
Pick the data field
Choose Data field in the property toolbar, then pick the field to display (e.g.,
Users > display_name). The element now renders real data from that field and updates automatically when entries change.Read and write data with actions
Use database actions in your app’s logic to interact with the database at runtime.Create entry
Creates a new entry in a table. Map form inputs or variables to each field you want to populate.
Update entry
Edits an existing entry. Specify the entry and provide the new field values.
Delete entry
Removes an entry permanently — typically passed from the item the user tapped.