> ## Documentation Index
> Fetch the complete documentation index at: https://docs.reyapp.io/llms.txt
> Use this file to discover all available pages before exploring further.
# Publish Your Rey App to Google Play
> Submit your Rey app to Google Play so real users can discover and download it on Android — no Android Studio or coding required.
Publishing to Google Play puts your app in front of billions of Android users worldwide. Rey handles the Android build, signing, and submission — you focus on filling out the **Configure Android deployment** dialog.
## Before you start
You'll need each of these set up on Google's side before Rey can build and submit your app.
Enroll in the Google Play Console (one-time \$25 USD fee).
Choose a unique application ID for your app.
Create the Play Store listing your builds will be uploaded to.
A JSON key so Rey can publish on your behalf.
## Configure Android deployment
Open your app in Rey, click **Publish** in the top toolbar, and choose **Android**. The **Configure Android deployment** dialog has three tabs — **App**, **Credentials**, and **Assets**. You can save partially and come back later.
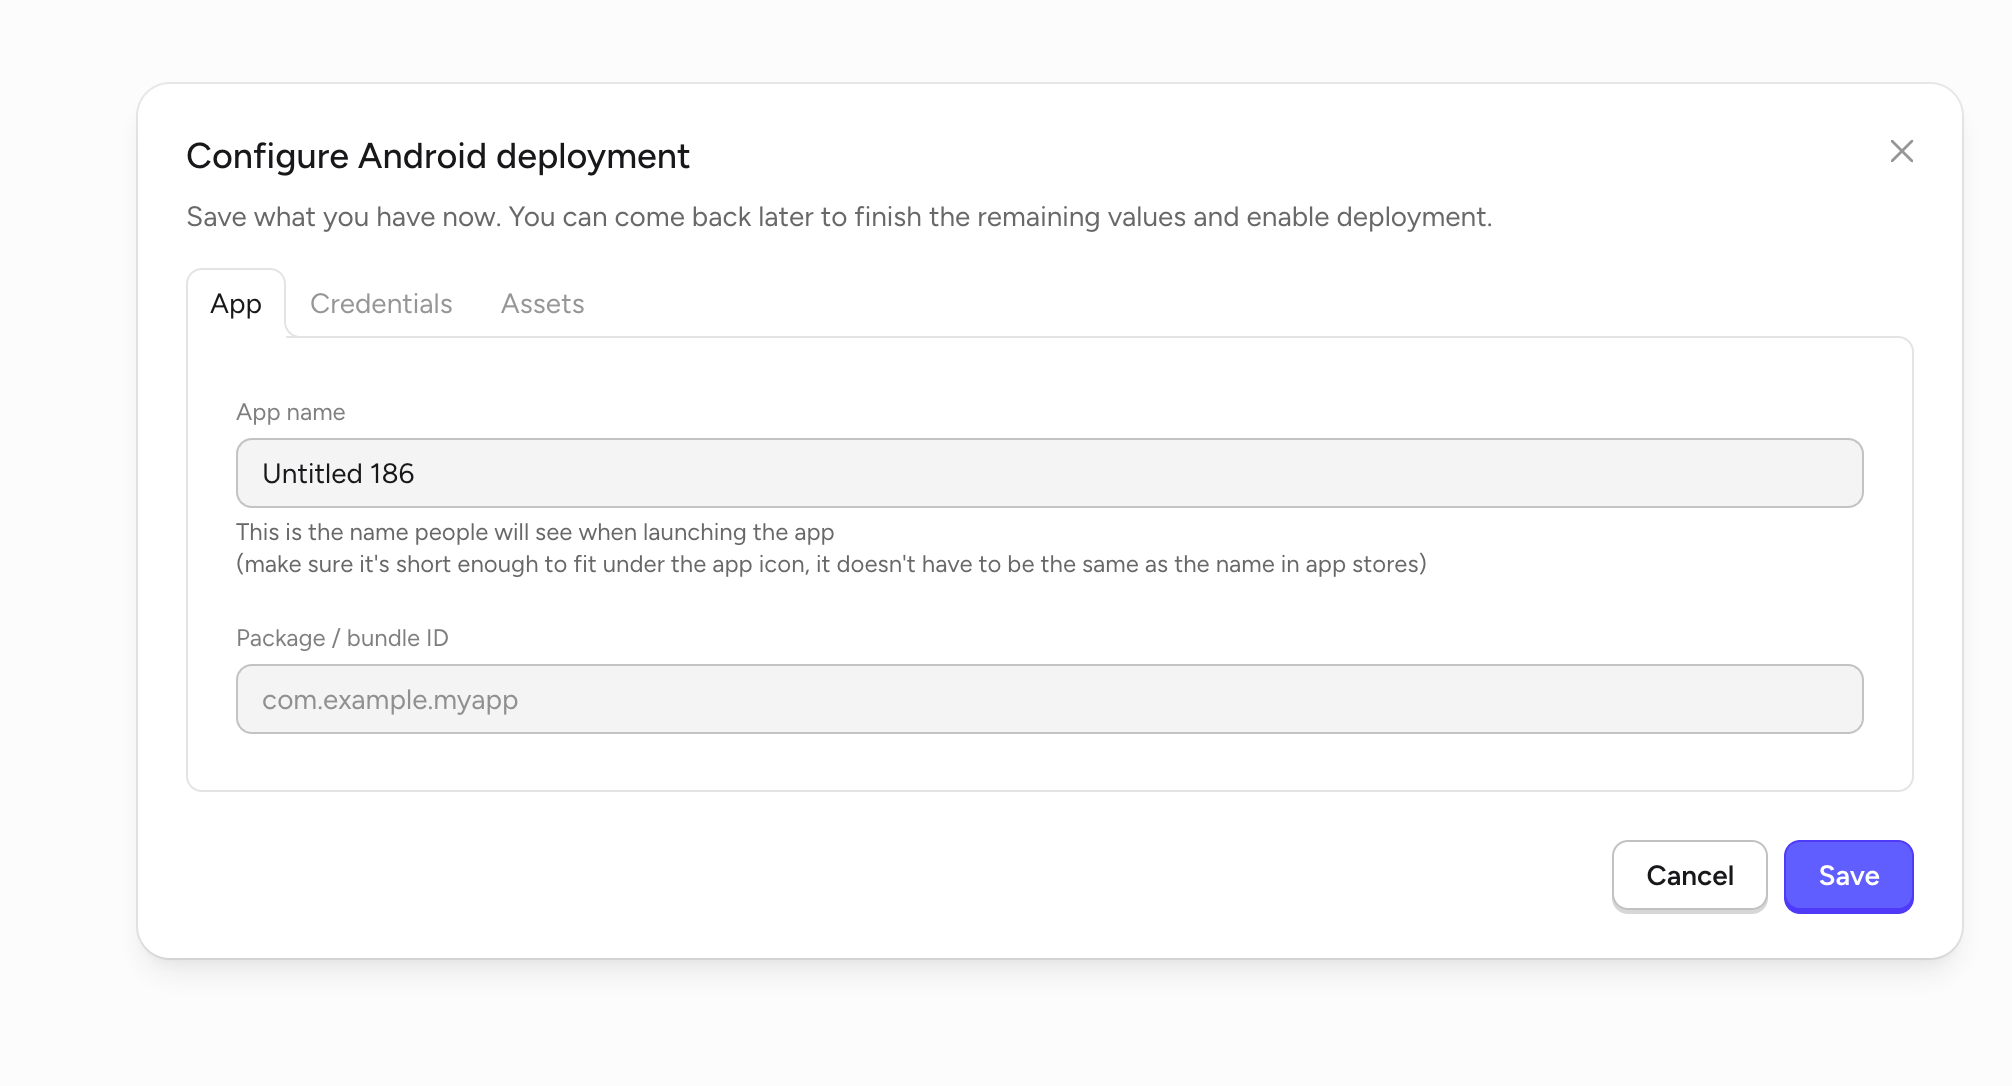 | Field | What to enter |
| ----------------------- | --------------------------------------------------------------------------------------------------------------------------------------------------------------------------- |
| **App name** | The name people see under the app icon on their home screen. Keep it short so it fits — it doesn't have to match your Play Store listing name. |
| **Package / bundle ID** | The package name you registered earlier (e.g. `com.yourcompany.yourapp`). Find it in the Play Console under **All apps → (your app) → Dashboard**, or in **App integrity**. |
See [Register a Package Name](/publishing/app-stores/play-store/register-package-name) if you haven't chosen one yet.
| Field | What to enter |
| ----------------------- | --------------------------------------------------------------------------------------------------------------------------------------------------------------------------- |
| **App name** | The name people see under the app icon on their home screen. Keep it short so it fits — it doesn't have to match your Play Store listing name. |
| **Package / bundle ID** | The package name you registered earlier (e.g. `com.yourcompany.yourapp`). Find it in the Play Console under **All apps → (your app) → Dashboard**, or in **App integrity**. |
See [Register a Package Name](/publishing/app-stores/play-store/register-package-name) if you haven't chosen one yet.
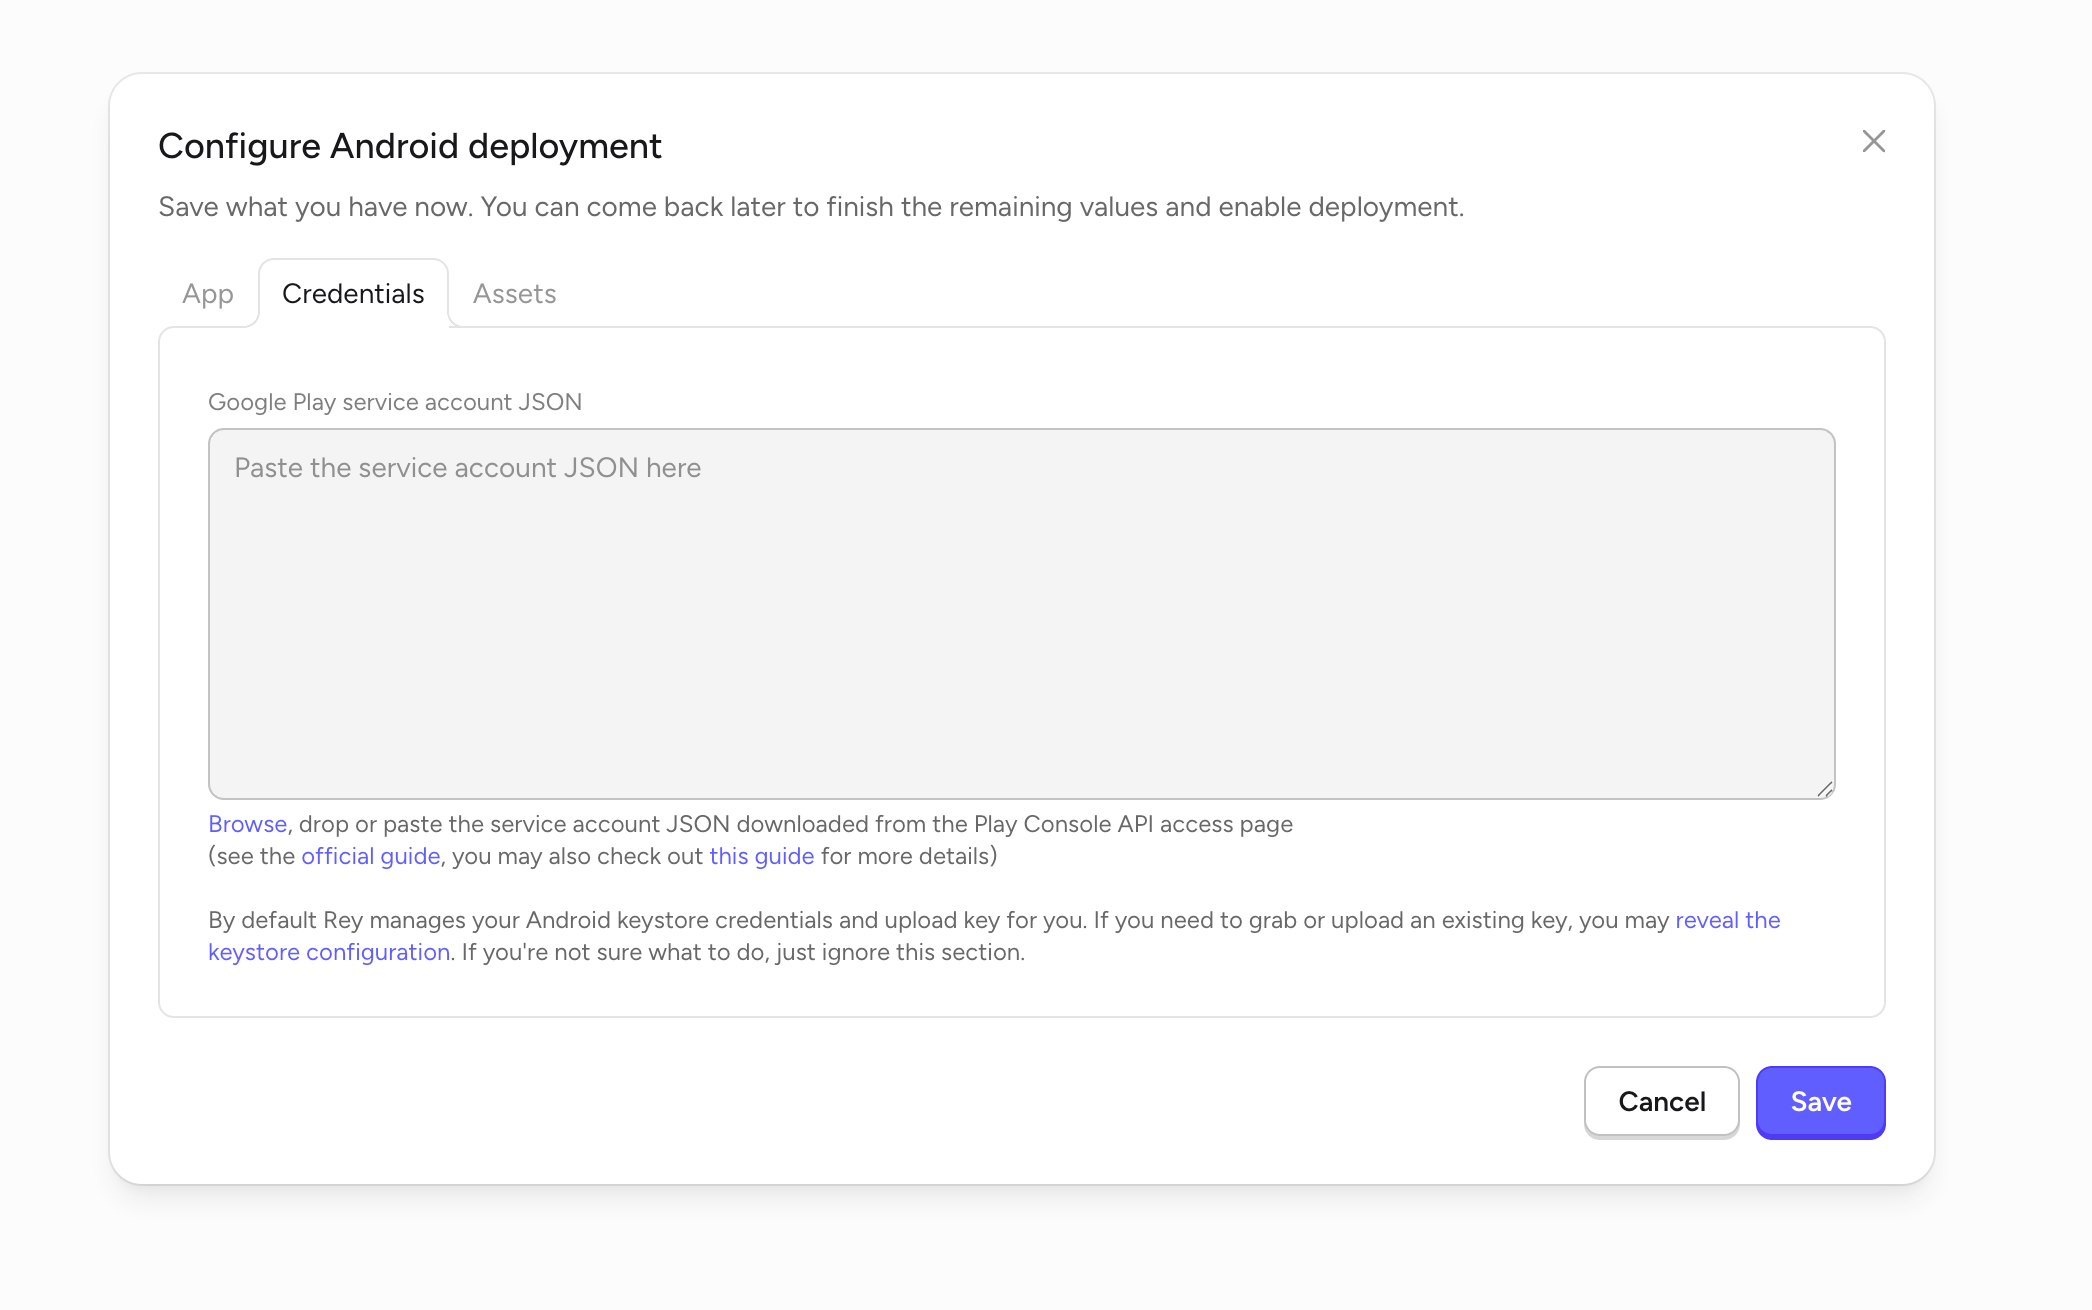 Paste the **Google Play service account JSON** so Rey can upload builds on your behalf. Download it from the Play Console API access page — full walkthrough at [Google Service Account Key](/publishing/app-stores/google-service-account).
By default Rey manages your Android keystore and upload key for you. You only need to reveal the keystore configuration if you're migrating an existing app with an existing signing key.
Paste the **Google Play service account JSON** so Rey can upload builds on your behalf. Download it from the Play Console API access page — full walkthrough at [Google Service Account Key](/publishing/app-stores/google-service-account).
By default Rey manages your Android keystore and upload key for you. You only need to reveal the keystore configuration if you're migrating an existing app with an existing signing key.
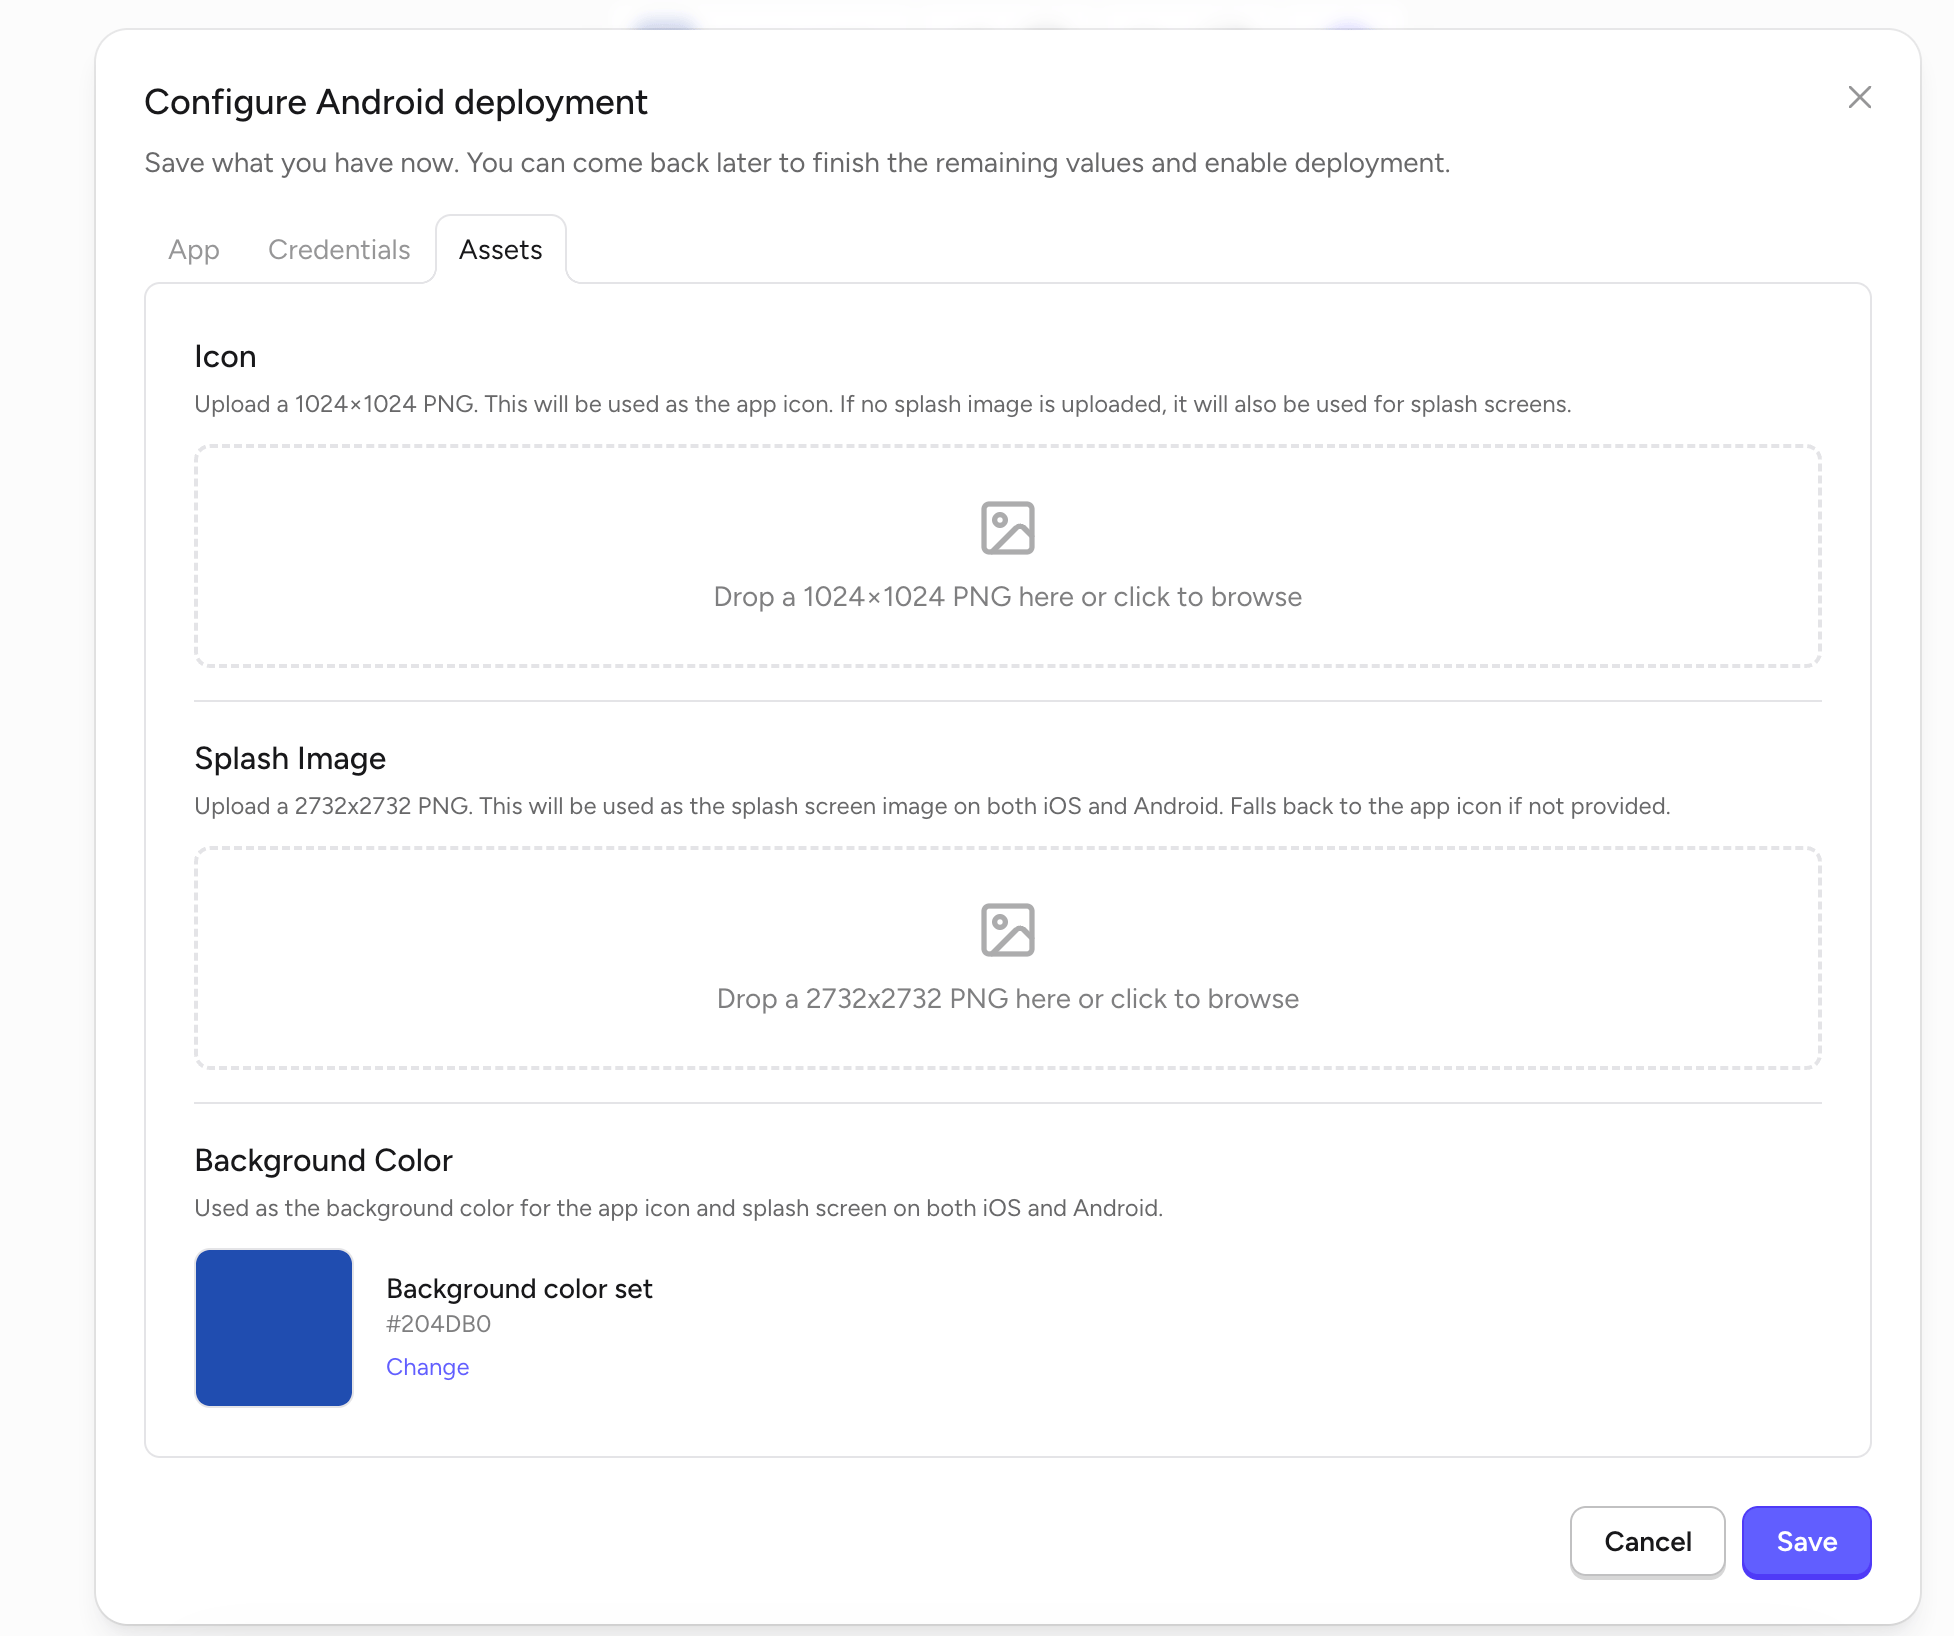 | Asset | Requirement |
| -------------------- | ----------------------------------------------------------------------------------------------- |
| **Icon** | 1024×1024 PNG. Used as the app icon and, if no splash image is provided, as the splash screen. |
| **Splash Image** | 2732×2732 PNG. Shown on launch on both iOS and Android. Falls back to the icon if not uploaded. |
| **Background Color** | Hex color used behind the icon and splash on both platforms. |
Assets are shared between iOS and Android — if you already uploaded them when configuring iOS deployment, they'll appear here too.
## Submit your app
Complete **App**, **Credentials**, and **Assets** in the Configure Android deployment dialog, then click **Save**.
Rey builds your Android app, signs it, and uploads it to the Play Console.
Log in to the [Play Console](https://play.google.com/console) to add screenshots, feature graphic, description, category, and content rating, then submit for review.
Initial Play Store reviews typically complete within a few hours to **3 business days**.
Make sure your app complies with [Google Play's Developer Program Policies](https://play.google.com/about/developer-content-policy/) before submitting. Common rejection reasons include missing privacy policy, undisclosed permissions, and broken functionality.
## Publishing app updates
When you're ready to release a new version, make your changes in the Rey editor and click **Publish** again. Rey increments the version code, rebuilds, and resubmits to the Play Console. You don't need to touch Android Studio or any build tooling.
## Plan requirements
Publishing to Google Play is included on all paid plans — **Starter**, **Grow**, and **Scale**.
| Asset | Requirement |
| -------------------- | ----------------------------------------------------------------------------------------------- |
| **Icon** | 1024×1024 PNG. Used as the app icon and, if no splash image is provided, as the splash screen. |
| **Splash Image** | 2732×2732 PNG. Shown on launch on both iOS and Android. Falls back to the icon if not uploaded. |
| **Background Color** | Hex color used behind the icon and splash on both platforms. |
Assets are shared between iOS and Android — if you already uploaded them when configuring iOS deployment, they'll appear here too.
## Submit your app
Complete **App**, **Credentials**, and **Assets** in the Configure Android deployment dialog, then click **Save**.
Rey builds your Android app, signs it, and uploads it to the Play Console.
Log in to the [Play Console](https://play.google.com/console) to add screenshots, feature graphic, description, category, and content rating, then submit for review.
Initial Play Store reviews typically complete within a few hours to **3 business days**.
Make sure your app complies with [Google Play's Developer Program Policies](https://play.google.com/about/developer-content-policy/) before submitting. Common rejection reasons include missing privacy policy, undisclosed permissions, and broken functionality.
## Publishing app updates
When you're ready to release a new version, make your changes in the Rey editor and click **Publish** again. Rey increments the version code, rebuilds, and resubmits to the Play Console. You don't need to touch Android Studio or any build tooling.
## Plan requirements
Publishing to Google Play is included on all paid plans — **Starter**, **Grow**, and **Scale**.