> ## Documentation Index
> Fetch the complete documentation index at: https://docs.reyapp.io/llms.txt
> Use this file to discover all available pages before exploring further.
# Get Your App Store Connect Credentials
> Find your Apple Developer Team ID, App Store Connect Issuer ID, Key ID, and download the .p8 private key so Rey can upload builds to App Store Connect on your behalf.
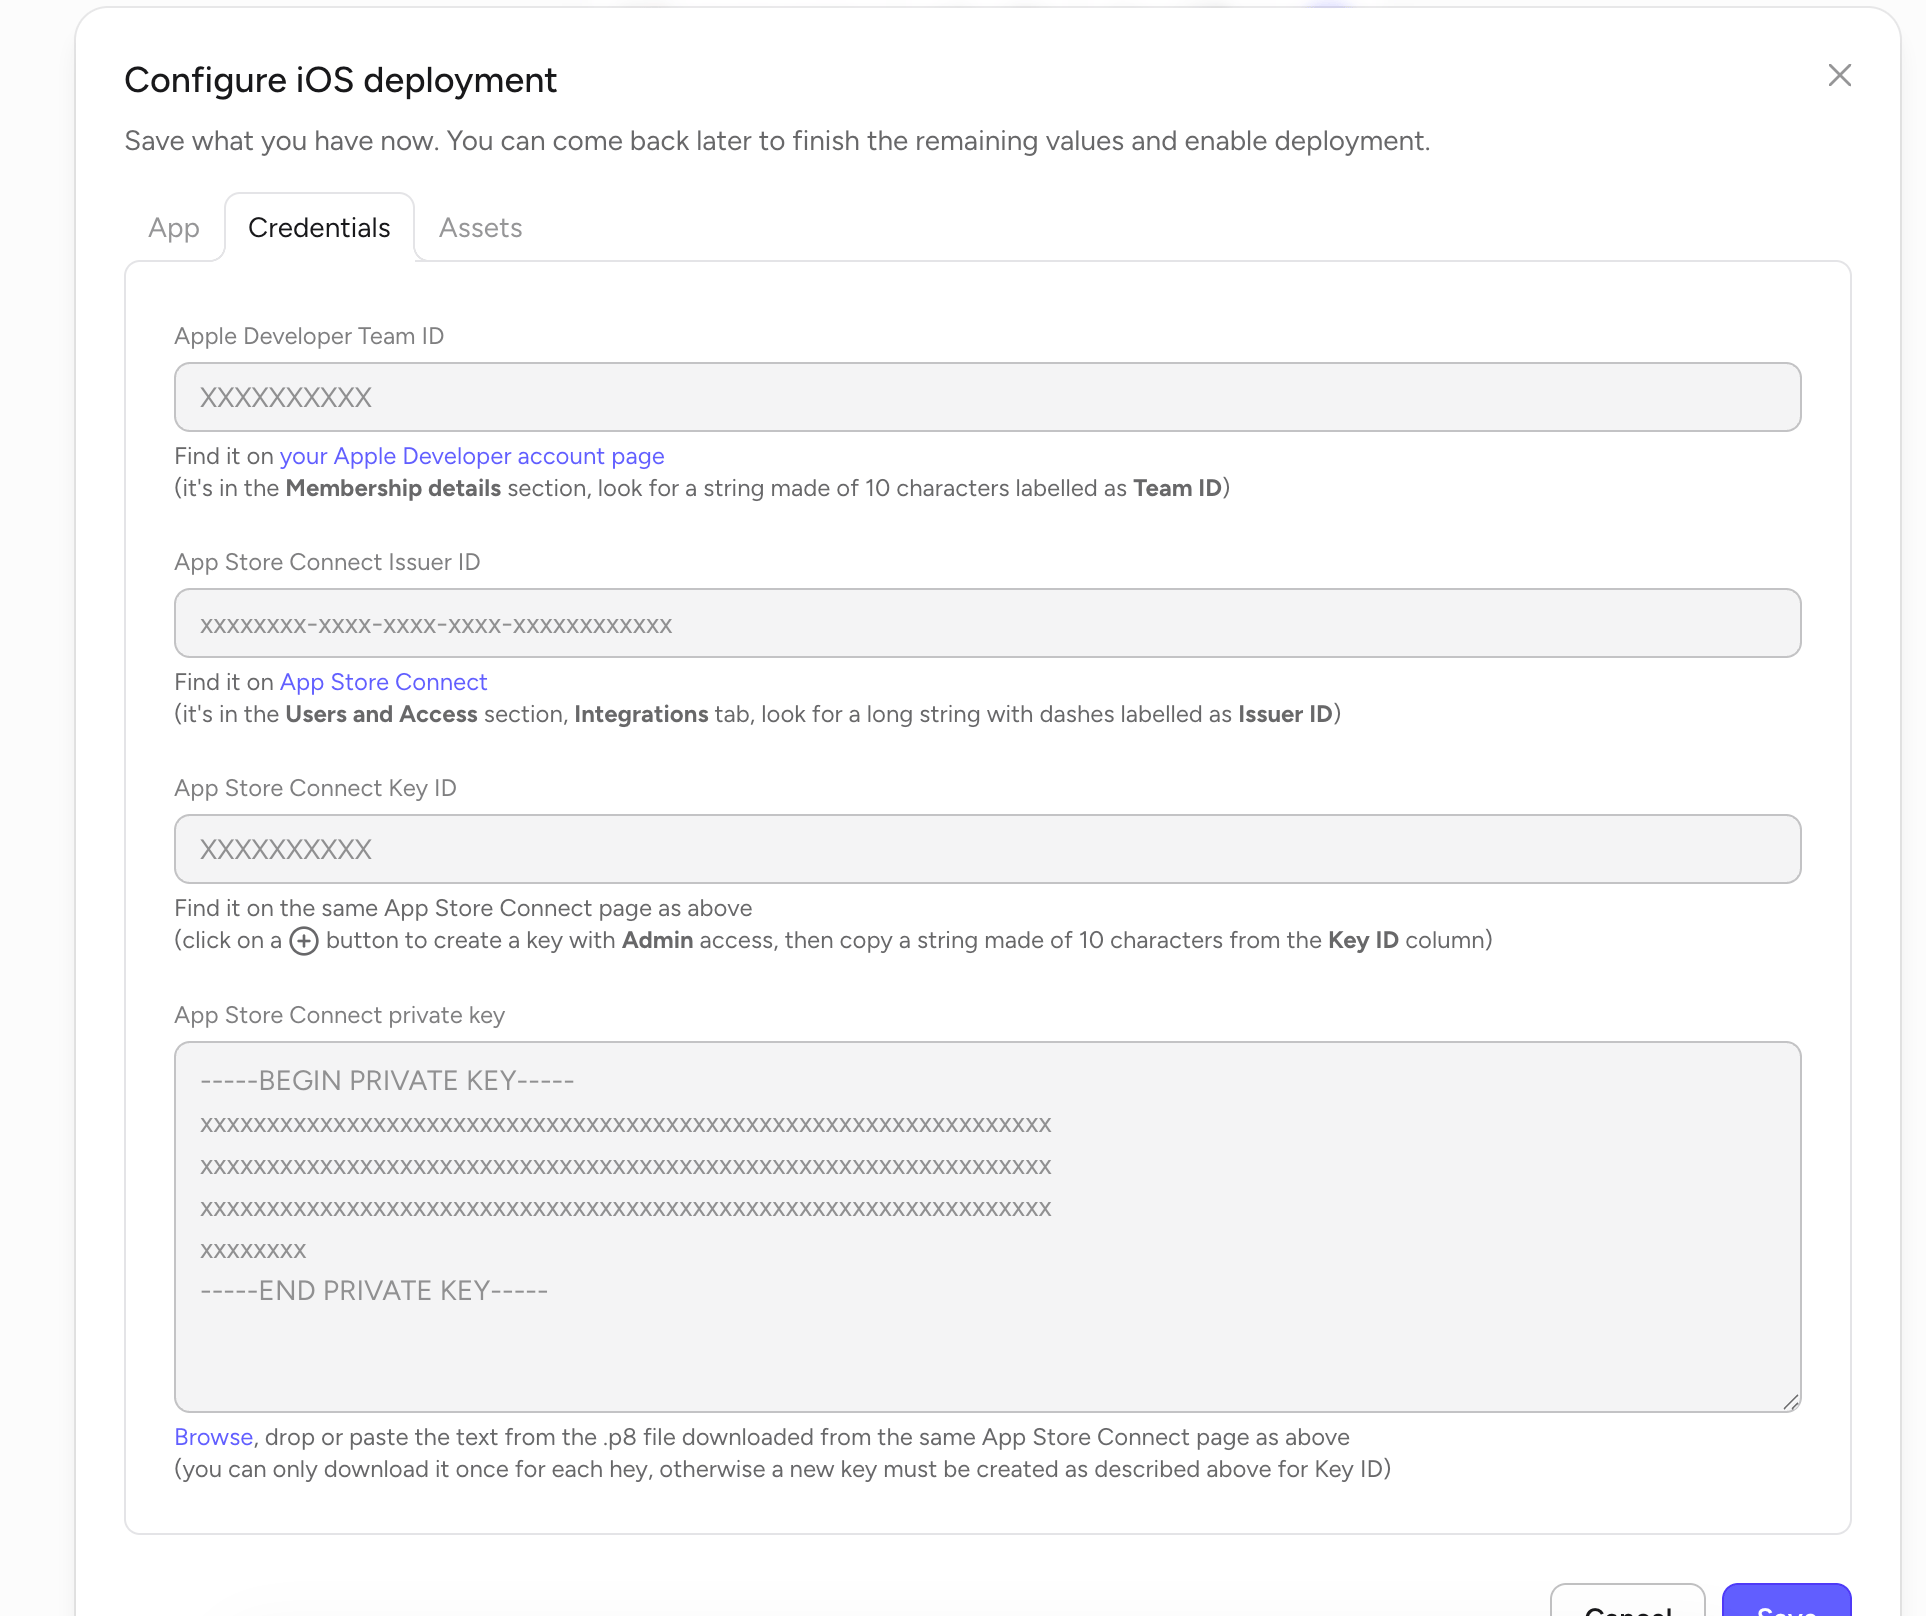
Rey uses the [App Store Connect API](https://developer.apple.com/documentation/appstoreconnectapi) to upload builds — no Xcode, no manual signing. To authenticate, Rey needs four values from your Apple account. You only have to collect them once per team.
 These credentials give whoever holds them the ability to upload builds and manage your apps. Treat the `.p8` file like a password — don't commit it to git or share it in Slack.
## Apple Developer Team ID
A 10-character string that identifies your Apple Developer team.
Go to [developer.apple.com/account](https://developer.apple.com/account).
Scroll to the **Membership details** section.
Copy the 10-character string labelled **Team ID** and paste it into Rey.
## App Store Connect Issuer ID
A long UUID that identifies your organization inside App Store Connect. Every API key you create belongs to this issuer.
Go to [appstoreconnect.apple.com](https://appstoreconnect.apple.com) and sign in.
Click **Users and Access** in the top nav, then switch to the **Integrations** tab.
Near the top of the page you'll see a long string with dashes labelled **Issuer ID** (format: `xxxxxxxx-xxxx-xxxx-xxxx-xxxxxxxxxxxx`). Copy it into Rey.
## App Store Connect Key ID and private key
The Key ID and private key come together — you create them at the same time, and Apple only lets you download the private key **once**.
Same page as the Issuer ID.
Click the **+** button to generate a new API key. Give it a name (e.g. "Rey deployment") and grant it **Admin** access so it can create and upload builds.
After the key is created, copy the 10-character string from the **Key ID** column into Rey.
Click **Download API Key** to save the `.p8` file. Apple only allows this download **once** — if you lose it, you'll need to revoke the key and create a new one.
Open the `.p8` file in any text editor, copy the entire contents (including the `-----BEGIN PRIVATE KEY-----` and `-----END PRIVATE KEY-----` lines), and paste it into the **App Store Connect private key** field. You can also drag the `.p8` file directly onto the field.
Store the `.p8` file in a secure location (like a password manager) as a backup. If your Rey workspace is ever wiped, you'll want to be able to re-paste the key without generating a new one and updating every service that uses it.
## Rotating credentials
If a key is compromised or a team member leaves, revoke the affected key from **Users and Access → Integrations** in App Store Connect. Then create a new key and update the **Key ID** and **private key** fields in Rey — the Team ID and Issuer ID don't change.
These credentials give whoever holds them the ability to upload builds and manage your apps. Treat the `.p8` file like a password — don't commit it to git or share it in Slack.
## Apple Developer Team ID
A 10-character string that identifies your Apple Developer team.
Go to [developer.apple.com/account](https://developer.apple.com/account).
Scroll to the **Membership details** section.
Copy the 10-character string labelled **Team ID** and paste it into Rey.
## App Store Connect Issuer ID
A long UUID that identifies your organization inside App Store Connect. Every API key you create belongs to this issuer.
Go to [appstoreconnect.apple.com](https://appstoreconnect.apple.com) and sign in.
Click **Users and Access** in the top nav, then switch to the **Integrations** tab.
Near the top of the page you'll see a long string with dashes labelled **Issuer ID** (format: `xxxxxxxx-xxxx-xxxx-xxxx-xxxxxxxxxxxx`). Copy it into Rey.
## App Store Connect Key ID and private key
The Key ID and private key come together — you create them at the same time, and Apple only lets you download the private key **once**.
Same page as the Issuer ID.
Click the **+** button to generate a new API key. Give it a name (e.g. "Rey deployment") and grant it **Admin** access so it can create and upload builds.
After the key is created, copy the 10-character string from the **Key ID** column into Rey.
Click **Download API Key** to save the `.p8` file. Apple only allows this download **once** — if you lose it, you'll need to revoke the key and create a new one.
Open the `.p8` file in any text editor, copy the entire contents (including the `-----BEGIN PRIVATE KEY-----` and `-----END PRIVATE KEY-----` lines), and paste it into the **App Store Connect private key** field. You can also drag the `.p8` file directly onto the field.
Store the `.p8` file in a secure location (like a password manager) as a backup. If your Rey workspace is ever wiped, you'll want to be able to re-paste the key without generating a new one and updating every service that uses it.
## Rotating credentials
If a key is compromised or a team member leaves, revoke the affected key from **Users and Access → Integrations** in App Store Connect. Then create a new key and update the **Key ID** and **private key** fields in Rey — the Team ID and Issuer ID don't change.